FIND OUT HOW WE CAN ILLUMINATE YOUR LIFE >
NOTICE: IMPROPER STUCCO WALL INSTALLATIONS
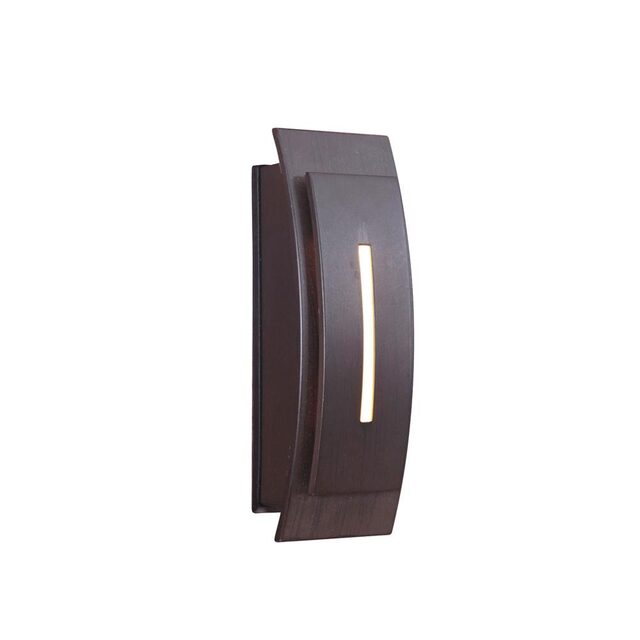
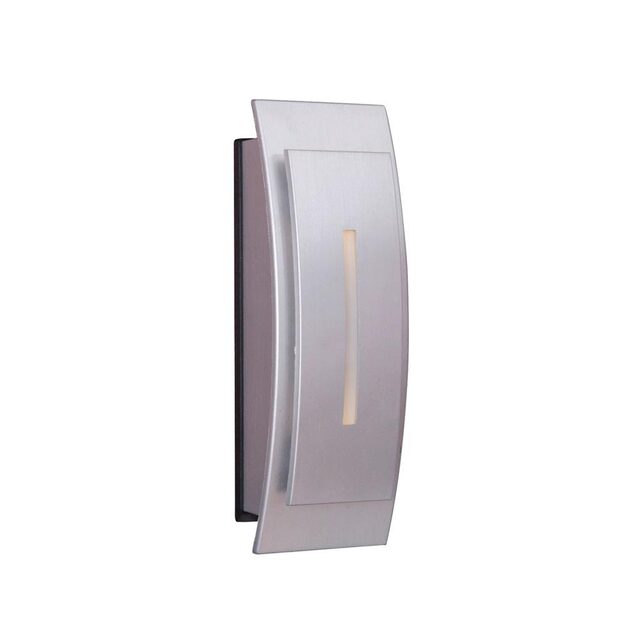
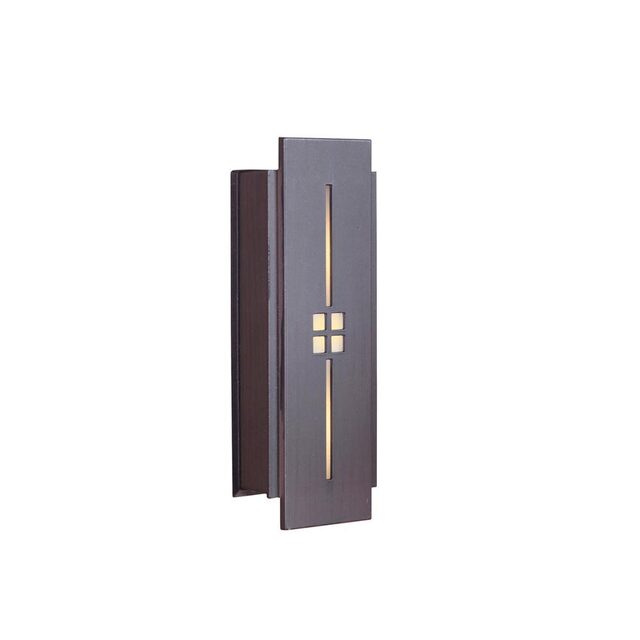
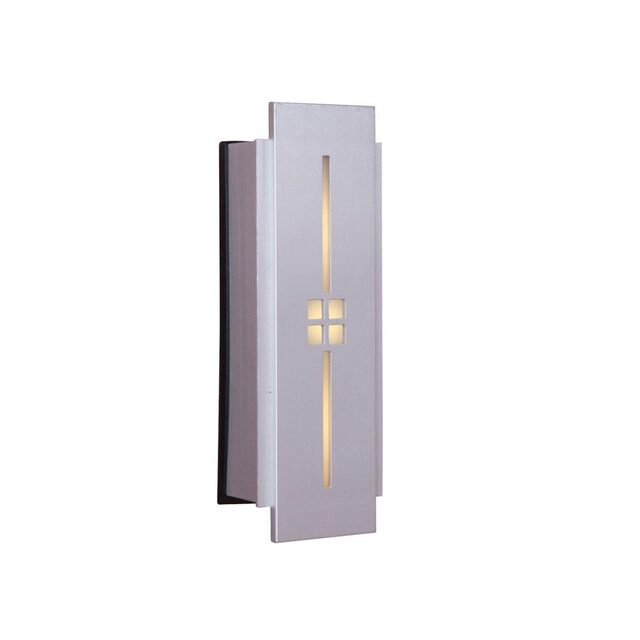
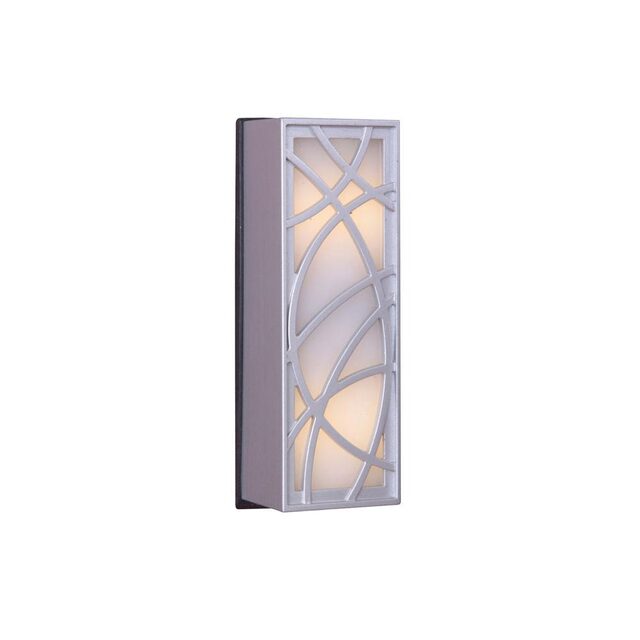
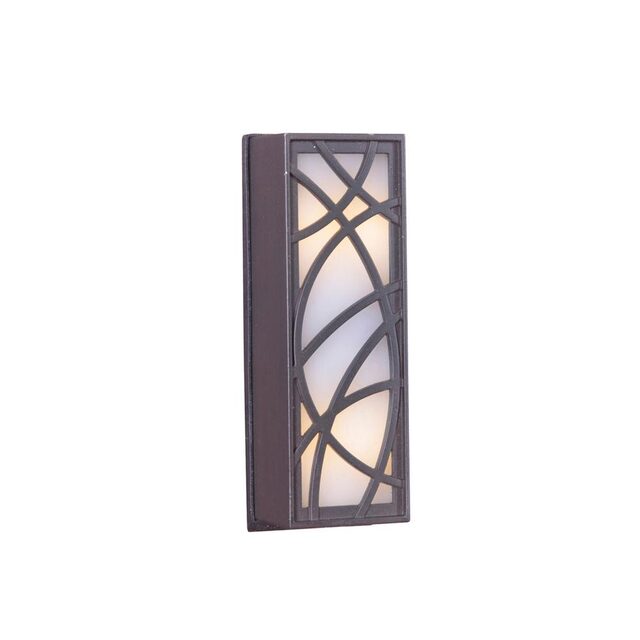
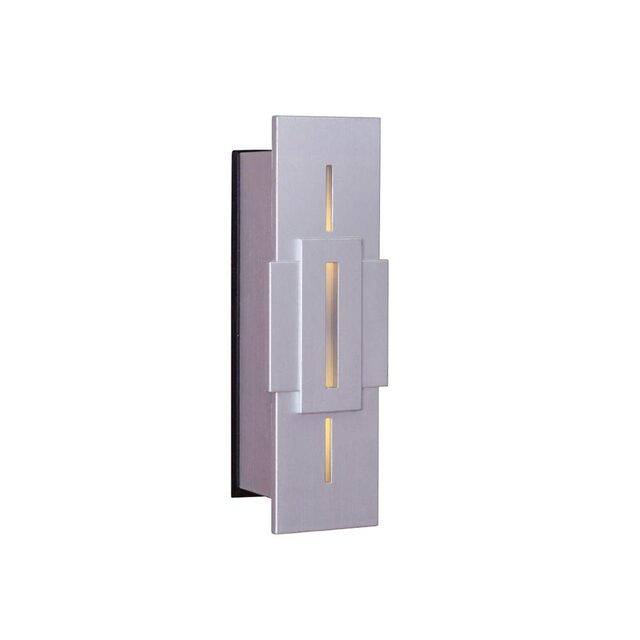
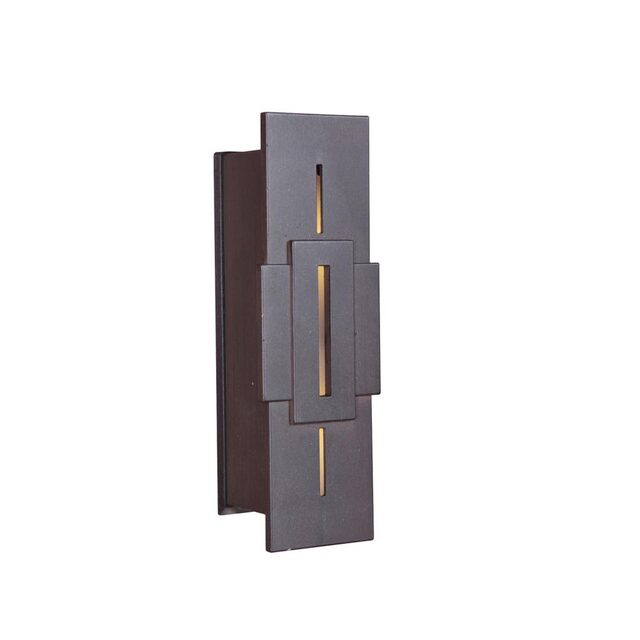
We have seen feedback wherein a few installations have been problematic or have failed on stucco walls, especially when facing the sun. Please note that this is NOT a problem with the product itself but more than likely, a problem in the installation procedure. Our LED Touch Button is in fact a micro-computer that adjusts itself to accommodate the different mass sizes of the beautiful, outer metal designer touch housings. The computer also adjusts itself for temperature and humidity variations, including any insect or less than human size bio-mass that it may come into contact with, such as a crawling lizard or big bug as in Florida.
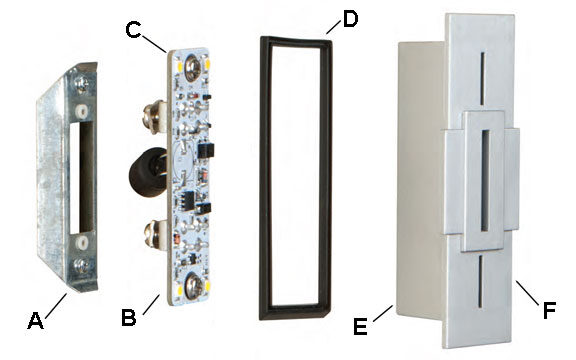
The installation problem is that when one attaches the two screws to the housing and screws them into a stucco wall, more than likely the included insulators were not used or breached so that one (or both) of the metal screws came into contact with the metal mounting bracket that secures the housing to the internal circuit board that contains the 4 LED lights.
This would normally NOT be a problem if one were mounting to wood or stone. However, many people may not know it but stucco walls are densely, metal mesh backed! Once the metal screw touches the expanded metal lath holding the stucco in place, the micro-computer attempts to make the whole wire-backed stucco wall into one GIANT touch button! This exceeds the limit of the computer and also, more than likely, the desire of the homeowner to limit the size of their touch button!
Here is a video link showing exactly just how MUCH extensive metal mesh is hidden behind the stucco finish:
So, on a hot day, when a stucco wall faces the sun, expanding temperatures of the wall cause the attachment screws to intermittently make and/or break contact with the internal Touch Button electronics and the metal stucco lath, thus causing the computer to make the doorbell ring haphazardly. The solution is to make sure that the metal mounting screws are NOT touching the metal mounting bracket in any way other than via an insulator (included). A circuit tester or ohm meter can be used to make sure this is not happening (screw to bracket short-circuit test).
CAUTION: If you use a longer metal screw than the one furnished, you might bust out the back of the insulator and screw right into the metal lath!
PLEASE NOTE: All of our LED illuminated doorbell chimes will power up (with no batteries needed to be changed) virtually all the outdoor video doorbell buttons on the market without having to purchase any of their costly optional power supplies. Use only your existing two doorbell button wires with no additional wires to add!
WHERE TO PURCHASE:
ON SALE NOW! Directly from Craftmade's website!
Or at a location near you!

